Add Locations Individually
These instructions will walk you through adding store locations one at a time.
Select the Stores tab.

Click on the Add Store button.
Enter as much information as you’d like about each store. At a minimum you’ll need at least a name and address.
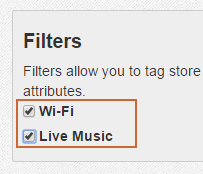
Note: For the address field, enter the full address. This allows for greater flexibility in the formatting of addresses.If you’ve already setup Filters for your stores, you can select which filters apply to your new store location. You can follow these instructions to create Filters for your store locations if you’d like to use that feature: (insert link to filters instructions)
Click the Map Store Location button. The Store Locator app will automatically try to determine the geocoordinates of your store location based on the address.
If you already know the geocoordinates of the store location you can enter them manually into the Latitude and Longitude fields as well.
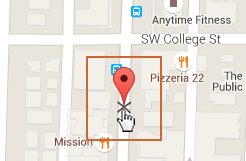
If the location that is found in Step 4 is not correct, you can click and drag the marker on the map to the correct location. The geocoordinates will automatically update when you do so.
Click the Save button to add your store location to your listings and map.