Use Custom Markers
It's possible to use a custom map marker for either your store locations or to mark your visitors search location. To do so you'll need to upload the image you'd like to use for the custom map marker to a location that is accessible through a URL. The easiest way to do that is to upload it to your Shopify account. These instructions will walk you through setting that up.
Create and Upload Marker Image
If you're creating a custom map marker from scratch or using an existing image, you'll need to make sure the background of the marker is transparent. You'll also need to make sure the image is saved in a format that supports transparencies such as .png or .gif. For best results we recommend making the dimensions of both the height and width of your image between 20 and 60 pixels.
Note: Unfortunately we're unable to provide support for creating or editing custom markers so that they work properly. If you need help with this we recommend working with a web or graphic designer.Once your image is ready, go to your Shopify account.
Click on Settings from the left navigation in your Shopify account.
Click on Files.
Click on the Upload files button.
Find the image file on your computer and upload it.
Click on the copy link button for your uploaded image file.


Set Custom Marker
Click on the Setup tab in the Store Locator app.

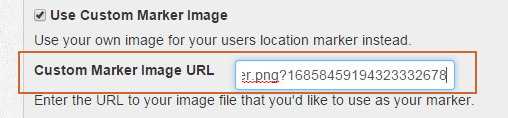
Under the Markers section click on Use Custom Marker Image for either the User's Location Marker or Store Markers depending on which custom marker you're specifying.

Paste in the URL for the image file that you copied from your Shopify account in the Custom Marker Image URL field.
Click the Save button.