Filters
Filters allow you to differentiate or categorize stores based on different attributes. For example if some of your stores have Wi-Fi and some do not you can group your stores accordingly. You can also filter your stores based on different products that they carry. Any filters you’ve added will automatically appear as a checkbox on your store locator webpage. Your visitors can then narrow down stores based on your filters. Note: If a visitor selects multiple filters, only stores that have all of those filters will appear in the search results.
Here's an example of how filters look on your Store Locator page:

Add Filters
Click on the Setup tab.

Click on Filters.
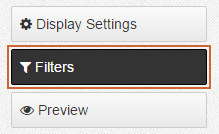
Click on Add Filter.

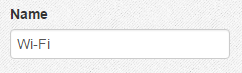
Enter the name for your filter.
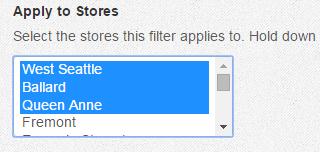
If you’ve already added your store locations to the app you can select which locations have that filter. You can hold the control key to select multiple stores at once. Note: If you're importing locations using a .csv file you can ignore this step. You'll instead specify which locations have a certain filter in your spreadsheet.
Click the Add button.


