Google Maps Integration
The Store Locator integrates with Google Maps to display your stores on Google Maps and provide other important features such as address searches, address search suggestions and driving directions on your store locator page. The use of Google Maps is provided through Google (the owner of Google Maps) instead of directly from the Store Locator app. So you'll need to setup the integration with Google Maps using a Google account.
In order to use Google Maps on your store locator page without any restrictions Google requires that you create your own Google Maps API Key for your website. Once created, you'll add this key to your Store Locator account so that Google Maps can properly function on your store locator page. Follow the instructions under Part 1: Setup Google Maps API Key section below to create your Google Maps API Key and add it to your Store Locator account.
Google also requires that you have payment information added to your Google account in order to fully use the Google Maps on your website. Make sure to follow the instructions under Part 2: Setup Payment Information in Your Google Account section below.
Part 1: Setup Google Maps API Key
Click on the Get Google API Key button below to start the process or use this link: https://console.cloud.google.com/projectcreate?previousPage=%2Fapis%2Fcredentials
If prompted login to your Google account or create a new one. Hint: If you have a Gmail account you can login to that account.
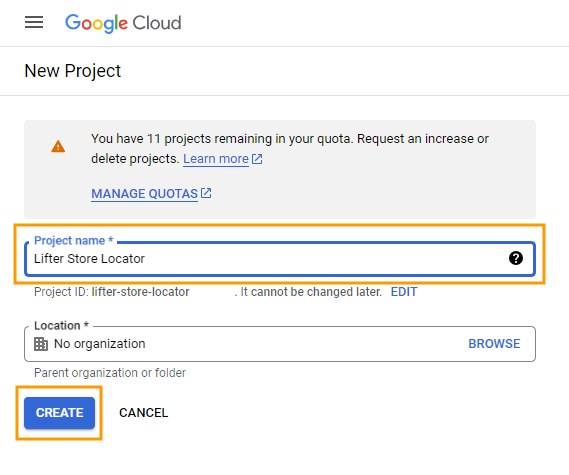
On the New Project page give your project a name in the Project Name field. We recommend naming your project Lifter Store Locator in order to more easily identify it later. Then click on the Create button.
You should be redirected to the Credentials page but if not use this link: https://console.cloud.google.com/apis/credentials
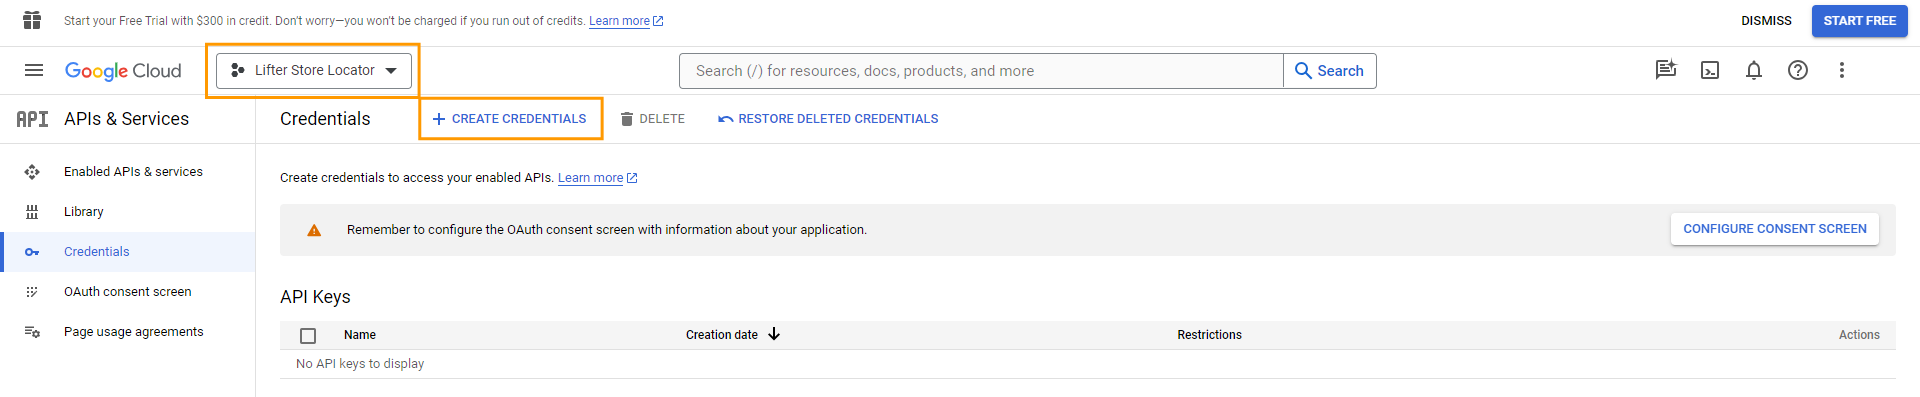
Be sure that your new project is selected in the project drop down on the Credentials page and click on the Create Credentials link.
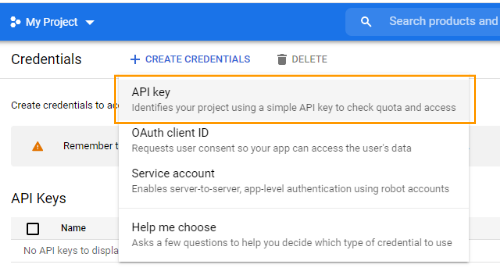
Select the API key option.
Copy your new API key that's shown under Your API key.

In your Store Locator account go to the Display Settings page and paste your API key in the Google Maps API Key field. You can get to the Display Settings page by clicking on the Setup link from the top horizontal navigation.
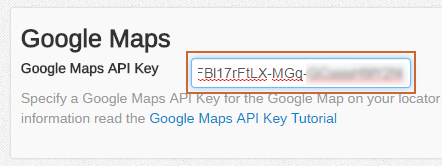
Click the Save button.

In order to fully activate your Google Maps API Key follow the instructions under Part 2: Setup Payment Information in Your Google Account below.


Part 2: Setup Payment Information in Your Google Account
Google requires that you have billing information added to your Google account in order to fully use Google Maps on your store locator page. Although billing information is required, each month Google provides a free usage threshold of 10,000 map loads, 10,000 address suggestions, 10,000 address searches and 10,000 driving direction requests.
If you haven't already done so, make sure you've created your Google Maps API Key and added it to your Store Locator account.
Go to the Google Maps Plaform billing page here: https://console.developers.google.com/billing
Login to your Google / Gmail account that you used when creating your Google Maps API Key.
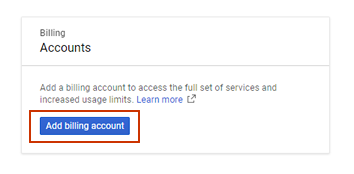
Click on Add billing account.
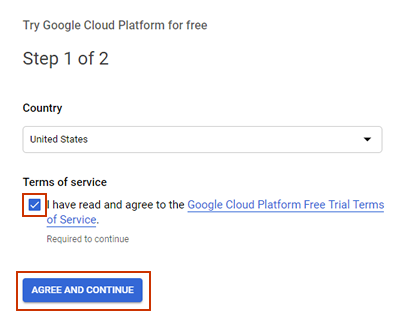
Tick the Terms of service checkbox and click on Agree and continue.
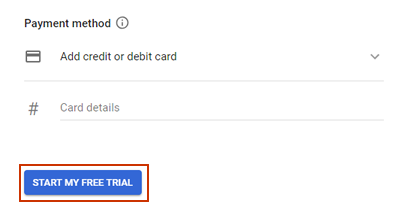
Fill out out your name and address information and add your payment information. Then click on Start my free trial.
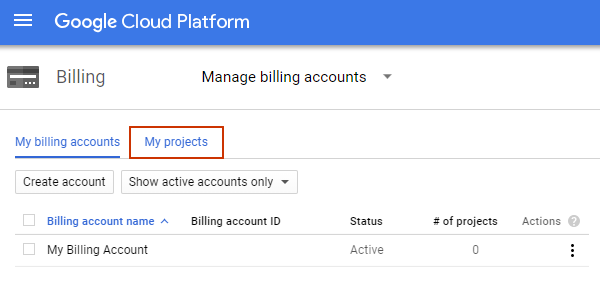
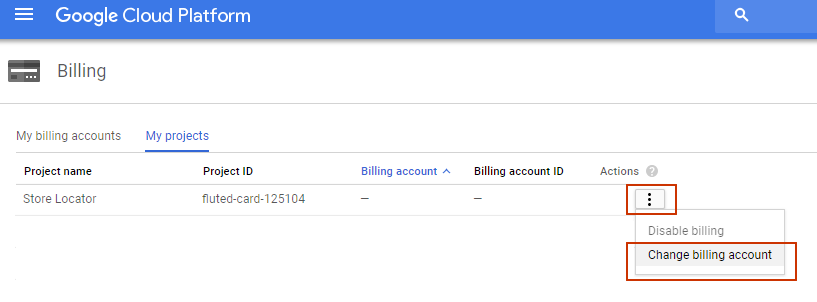
Go back to the billing page here: https://console.developers.google.com/billing and click on My projects.
Find the project that you created when creating your API Key for the Store Locator. Click on the Actions icon and then select Change billing.
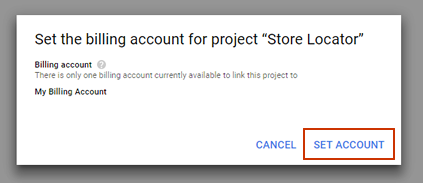
Select your billing account and then click on the Set Account button.
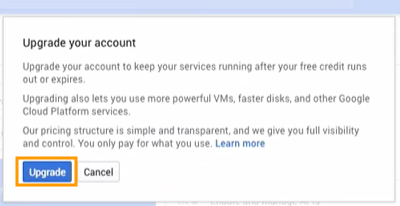
To ensure uninterrupted service after your free trial period ends click on the Upgrade button on the top banner. Note: Google continues to provides $200 worth of free Google Maps usage every month even after your free trial period ends.

Then click on the Upgrade button again that appears in the modal window and you're all setup!


Manually Enabling Services
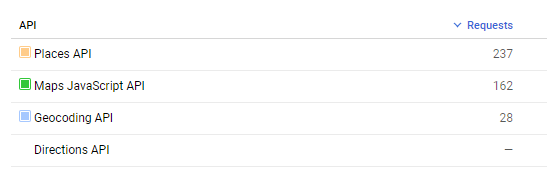
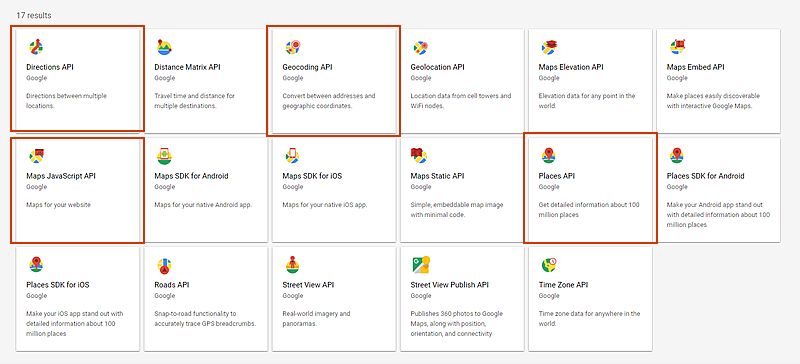
If any of the four required services: Maps Javascript API, Places API, Geocoding and Directions API are not automatically enabled and appear on your Google API Dashboard page you'll need to follow these instructions to manually enable them.
First check to see if the required services are enabled by going to the Google API Dashboard page here: https://console.developers.google.com/apis/dashboard/. You should see Maps Javascript API, Places API, Geocoding and Directions API listed. If any of them aren't listed you'll need to enable them.
To enable a service click on the Library link.

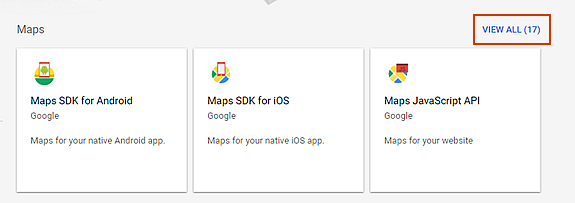
In the Maps section click on the View All link to view all of the available services.
Find and select one of the services that is not yet enabled for your account.
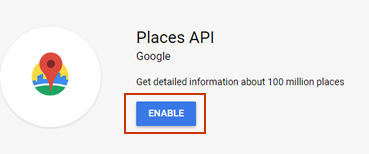
Click the Enable button to active the service.
Go back to the Google API Dashboard page: https://console.developers.google.com/apis/dashboard.
Make sure theMaps Javascript API, Places API, Geocoding and Directions API and are all now listed otherwise repeat the steps to enable the missing services.


Common Issues
Error Message on Google Maps

Google Maps shows a warning message that says "This page can't load Google Maps correctly" and the "For development purposes only" watermark on the map if you haven't properly configured billing in your Google account. Google requires that you have payment information in your Google account in order to use Google Maps on your website without any restrictions. Follow the instructions under Part 2: Setup Payment Information in Your Google Account. Be sure that you have a valid billing account and it's linked to your project that contains the Google Maps API Key that you've added to the app.