Bulk Import Instructions
The Bulk Import feature allows you to import a large number of locations at once. These instructions will walk you through how to use the feature.
File Preparation
For best results you should use our Google Docs template to ensure your store locations upload successfully.
Sign into your Google account or create a new account if you don't already have one.
Open the Google Docs template from this URL: https://docs.google.com/spreadsheets/d/1TSuZ0GL6JVKcI0rpHu7fHjLGQYVVHDPMH4G7lDQurs8/edit?usp=sharing
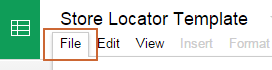
Click on File from the top menu.
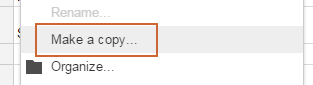
Then select the Make a copy option. Note: Make sure you're logged into your Google account, otherwise the Make a copy button will be disabled.
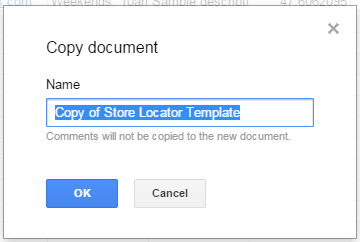
Give your document a new name and click the Ok button.
Add in your store location data or paste in the data from an existing CSV file.
If you're on the Pro plan or higher and would like to use a custom marker icon for a specific store, add the URL to the image under the Custom Marker Image. If you'd only like to use a custom marker icon for some locations you can leave the other rows blank for that column. If you're on the Basic plan or not using a custom marker image for specific locations, ignore the Custom Marker Image column or delete it.

If you're adding filters for your locations, add a column for each filter and the name of the filter in the header row. Then add True, Y, Yes or 1 if a store location has that attribute or False, N, No or 0 if it doesn't. The column Sample Filter is included as an example. For more information on filters, read the Filters Tutorial.

Important: Make sure to add your filters to the app on the Filters page before uploading your .csv file. This will ensure that your filter information for each store gets added correctly. For more information read the Filters Tutorial.Once all your store locations have been added, click on File.
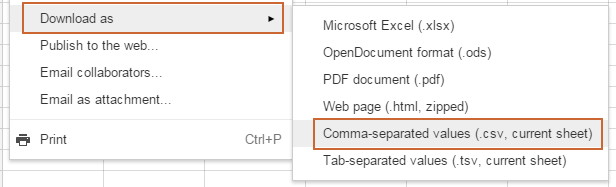
Select Download as and then Comma-separated values (.csv, current sheet).
Save the .csv file to a location on your computer.
Follow the steps in the Import File section below.


Using an Existing CSV File
If you already have an existing CSV file here are some tips to help modify it to the correct format and conventions:
- Important: Your .csv file must be encoded in UTF-8 format in order to work properly. See the Encoding CSV file in UTF-8 tutorial for converting an existing CSV file to a CSV file in UTF-8 encoding.
- Make sure your full store addresses are in a single column and without any line breaks in the address.
- If you created filters for your store, add a column with the filter name. Then in the rows for each store have either TRUE, Y, Yes or 1 if the store has that filter or FALSE, N, No or 0 if it does not. Any other convention will not work.
- Your latitude and longitude must be in separate columns.
- Your columns names don't need to follow a specific naming convention. For instance the column containing your stores website can be titled Website, URL or any other name you choose.
Add Filters
Import File
Select the Stores tab.

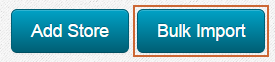
At the bottom of the page click on the Bulk Import button.
Click on Choose file.
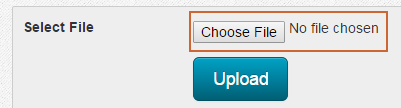
Select your .csv file that you have saved on your computer.
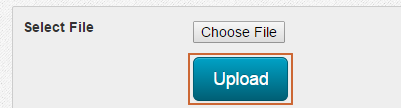
Click the Upload button.


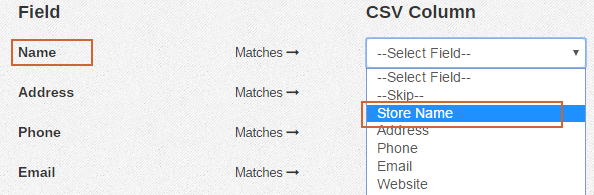
Connect Fields
You'll need to connect each store location field to the correct column in your CSV file. Using the drop downs select the correct CSV field that matches the correct store field. If a value from your CSV file doesn't match a store field in the drop down select the --Skip-- option.
Once you've connected all your fields, click on Save.

Make sure you don't navigate away until the bulk importing as finished. Depending on the number of store locations this could take awhile.


Geolocate Stores
If your store locations didn't include latitude and longitude information, use the Geolocate Stores feature to automatically attempt to determine the latitude and longitude for each store.
Click on the Geolocate button. The app will automatically attempt to determine the latitude and longitude for each store location.
In some cases it may be required to click the Geolocate button several times.
